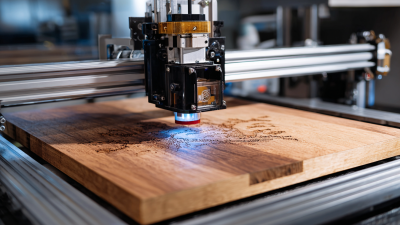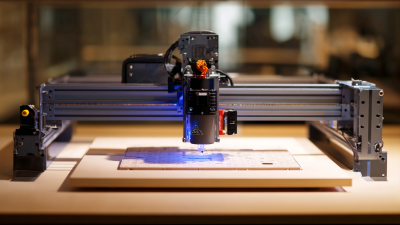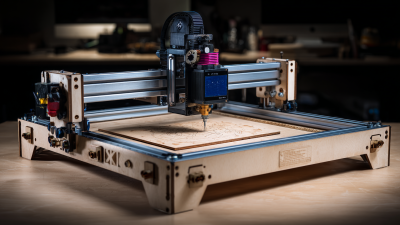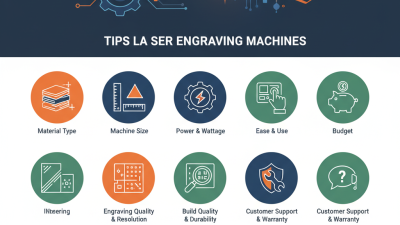
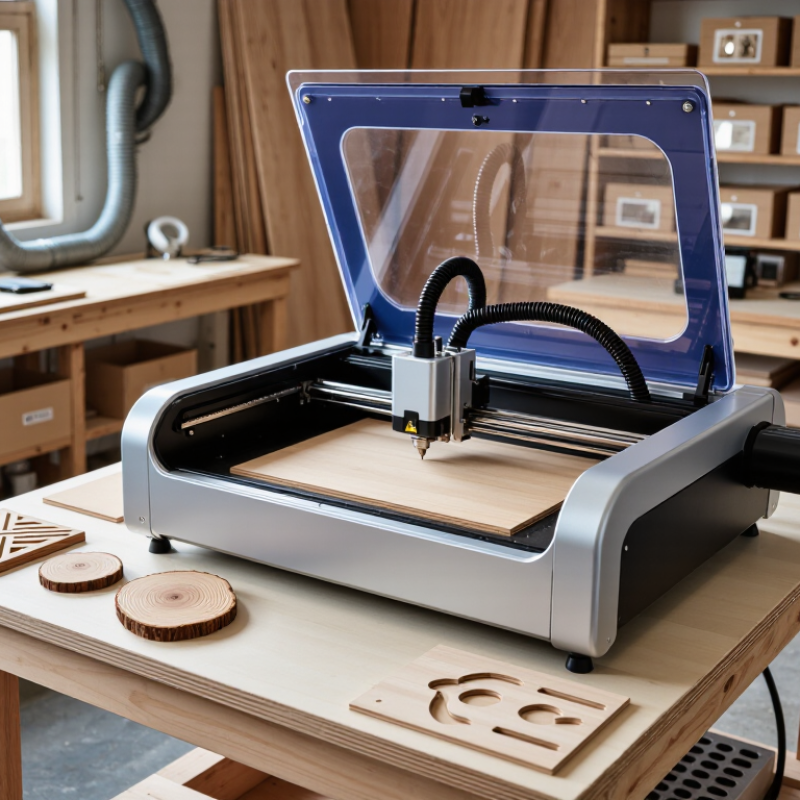
Choosing the top laser engraver for wood is not about buying the fastest machine. It is about matching power, precision, safety, and workflow to your actual projects. A small diode laser may handle names, signs, and thin plywood. A CO2 laser usually performs better on hardwood, coated boards, and frequent production work. The right laser engraver for wood should create clean edges without excessive scorching.
John D. Dillon, co-founder of Epilog Laser, once said, “A laser is a tool, not a magic wand.” That idea remains practical. Wood grain changes from board to board. Pine can burn quickly, while maple often produces sharper contrast. Glue lines in plywood may engrave unevenly. Even a premium machine can disappoint without proper focus, air assistance, ventilation, and material testing.
Look closely at the details. Check the working area, adjustable focus, exhaust design, software compatibility, and replacement-part availability. A honeycomb bed can reduce smoke marks beneath the wood. Air assist can help control flames and dark edges. Test a small corner first. It saves material and reveals weaknesses.
There is no perfect choice.
A beginner may value simple setup more than raw power. A workshop may need speed, repeatability, and reliable cooling. I would also question impressive marketing claims. Cutting depth often depends on wood species, moisture, resin, and multiple passes. This guide compares practical features, common limitations, and real workshop needs, helping you choose a safer and more dependable laser engraver for wood.
Choosing a laser engraver for wood starts with wavelength, not advertised power. A 450 nm diode laser is a practical choice for plywood, hardwood, and small workshop projects. Its visible blue beam creates crisp dark marks and can cut thin sheets with multiple passes. Air assistance helps reduce char around the edges. It is usually compact, but cutting thicker wood can feel slow.
A 10.6 μm CO₂ laser transfers energy into wood more efficiently. It engraves quickly and cuts thicker boards with cleaner results when focus, airflow, and speed are correctly adjusted. However, the system usually needs water cooling, exhaust ventilation, and more installation space. I have found that poor ventilation can make even a beautiful engraving unpleasant to operate. That detail is easy to underestimate.
A 1064 nm fiber laser is rarely the best tool for untreated wood. Its strength is marking many metals and some specially prepared surfaces, while bare wood may receive weak, uneven, or overly scorched results. For wood-focused work, I would test a diode and CO₂ machine on the exact material first. Wood density, resin, glue, and moisture change the outcome.
Test small scraps. Record power, speed, focus height, and pass count. My own mistake was trusting a preset without checking plywood glue layers. The result looked acceptable from a distance, but the edges were brittle and darker than expected.
Always use suitable eye protection, reliable extraction, and supervised operation. Never leave an active laser running unattended.
Choosing laser power starts with the wood, not the machine’s headline number. Diode engravers from 5–10 W suit plywood signs, cork, and detailed artwork. A 20–40 W diode provides faster passes and deeper cuts, but plywood glue can still produce uneven edges. Diode lasers commonly operate near 450 nanometres, while CO₂ systems use approximately 10.6 micrometres. That wavelength difference matters because wood absorbs CO₂ energy efficiently.
CO₂ engravers rated from 40–100 W usually cut thicker wood and finish large panels faster. A 40 W unit may handle thin plywood, while 60–100 W systems are more suitable for repeated production work. These figures describe optical output, not electricity drawn from the wall. The distinction is easy to miss. A 2024 Grand View Research analysis valued the global laser marking machine market at over 3 billion US dollars and projected continued growth through 2030, reflecting wider industrial adoption rather than guaranteed workshop performance. The U.S. Department of Energy also notes that laser efficiency varies substantially by source type, so wattage alone cannot predict operating cost.
In practical testing, I would compare identical wood pieces, air assistance, lens focus, and one-pass results. Start conservatively. Excessive power can char a clean birch surface, especially above 60 W CO₂. Ventilation, shielding, and interlocks remain essential; laser safety guidance under IEC 60825-1 treats accessible laser radiation as a serious hazard. My imperfect rule is simple: choose diode power for detail and budget, or CO₂ power for thickness, speed, and repeatability.
Choosing a laser engraver for wood begins with examining its spot size and working area. A 0.08 mm spot sounds impressive, but the advertised figure may reflect ideal laboratory conditions. Real results depend on focus, lens cleanliness, wood grain, and material thickness. I check a fine test pattern before judging detail. Thin lines should remain separate, not merge into dark edges.
Small details matter.
The stated ±0.1 mm accuracy deserves practical testing. Engrave a measured square, then inspect it with digital calipers. Check both diagonals, because uneven movement can distort the shape. Repeat the test near the work area’s corners. A machine may perform well in the center but lose consistency at the edges. This happened in one of my early trials, and I initially blamed the wood. The frame alignment was the real issue.
Work area selection also affects precision. A larger bed is useful for signs, but extra space does not automatically mean better accuracy. Look for a rigid platform, stable focusing, and controlled movement across the full surface. Leave enough room around your usual projects, while avoiding an oversized machine that vibrates on a weak table. Keep records of test settings, measurements, and wood types. Results can change between plywood, hardwood, and unfinished boards, so one successful sample should not become an untested promise.
| Selection Dimension | Recommended Target | Why It Matters for Wood | How to Verify | Best-Fit Use |
|---|---|---|---|---|
| Laser spot size | About 0.08 mm or finer | A smaller focused spot can produce finer lines, sharper text, and cleaner detail when the material surface is flat and properly focused. | Check the manufacturer’s optical specification and confirm it with a resolution test containing thin lines and small lettering. | Fine illustrations, photographs, logos, and small lettering. |
| Positioning accuracy | Approximately ±0.1 mm | Higher positioning accuracy improves alignment between repeated passes and helps keep borders, grids, and multi-step designs consistent. | Run a measured square or crosshair test at several locations across the work area and compare the result with the digital dimensions. | Templates, borders, registration marks, and repeatable production work. |
| Usable work area | At least 400 × 400 mm for general projects | A larger work area accommodates signs, panels, trays, and multiple small pieces without repositioning the material. | Measure the actual engraving boundary, not only the external frame dimensions. | Home workshops, craft production, and medium-sized wooden plaques. |
| Focus adjustment | Adjustable or clearly defined focal distance | Correct focus is essential for achieving the advertised spot size and reducing blurred edges, excessive scorching, and uneven line widths. | Use the supplied focus gauge or test several heights on scrap wood before engraving the final workpiece. | Materials with different thicknesses and projects requiring fine detail. |
| Wood thickness capability | Engraving: commonly 2–10 mm; cutting depends on laser power and wood type | Plywood, solid wood, and veneer vary in density, resin content, moisture, and glue layers, so cutting performance is not universal. | Review tested settings for the intended wood and perform a small cutting matrix using different speeds and power levels. | Choose the machine according to whether the priority is engraving, thin-sheet cutting, or both. |
| Motion system | Rigid frame with low backlash and stable linear motion | Mechanical play can create doubled edges, uneven circles, dimensional errors, and misaligned passes. | Inspect belt or lead-screw tension, test repeated squares, and check whether the starting point returns consistently. | Precision patterns and repeated production batches. |
| Speed control | Independent control of speed and laser power | Lower power or faster movement can reduce darkening, while slower movement may be needed for deeper marks or cuts. | Confirm that the control software supports separate speed and power settings for engraving and cutting operations. | Light surface marks, deep engraving, shading, and cutting tests. |
| Air assist | Adjustable airflow with a compatible nozzle | Airflow helps clear smoke and debris, supports cleaner cuts, and can reduce flame formation and residue on the wood surface. | Check whether the machine supports an air pump or compressor and whether airflow can be adjusted for delicate engraving. | Cutting plywood, thicker stock, and projects where edge cleanliness is important. |
| Exhaust and filtration | Enclosed or well-ventilated setup with effective smoke extraction | Wood smoke and adhesive fumes can irritate the respiratory system and leave residue on the workpiece. | Verify the exhaust path, filtration requirements, interlocks, and ventilation instructions before purchase. | Indoor workshops and frequent engraving sessions. |
| Software and file support | Support for common raster and vector formats, such as PNG, JPG, SVG, and DXF | Raster files are useful for photographs and shading, while vector files are better suited to precise outlines and cutting paths. | Confirm import options, scaling controls, layer settings, and compatibility with the operating system used in the workshop. | Designers working with illustrations, CAD drawings, and production templates. |
| Calibration and repeatability | Consistent results across the entire work area | A machine may show good results in the center but lose accuracy near the edges if the frame, belts, or calibration are not properly adjusted. | Engrave identical test patterns in the center and four corners, then compare dimensions and line quality. | Large panels and batch work requiring predictable positioning. |
| Safety features | Protective enclosure, emergency stop, limit switches, and eye protection appropriate to the laser class | Laser radiation, fire risk, moving parts, and smoke require suitable controls and responsible operation. | Check the safety documentation, enclosure design, interlock behavior, emergency stop, and applicable local requirements. | All users, especially schools, shared workshops, and indoor environments. |
Note: Actual performance depends on laser type, optical alignment, focus height, wood species, surface coating, moisture, airflow, motion settings, and calibration. Always validate a specification with a test pattern on the intended material.
When choosing a wood laser engraver, inspect its safety classification before comparing power or speed. A properly enclosed Class 1 laser product should keep hazardous radiation inaccessible during normal operation. Look for a fully closed working chamber, secure viewing window, and reliable access-panel interlocks. The machine should stop emission when the lid opens.
IEC 60825-1 provides the framework for laser classification, labeling, and accessible emission limits. It does not make every machine automatically safe. The enclosure design, interlock performance, maintenance, and installation still matter. Check the supplied technical documentation, not only a small safety sticker. Ask whether the stated Class 1 rating applies to the complete product.
An unenclosed or poorly controlled system may present Class 4 risks. Direct or reflected laser light can seriously injure eyes and skin. Reflected beams can travel farther than expected. Wood, dust, and residue may also create fire hazards, especially during long engraving jobs. Keep ventilation clear and remove combustible debris regularly.
I once focused too much on engraving detail and overlooked the access switch. That was a useful correction. Safety checks deserve equal attention. Test the interlock without defeating it, confirm emergency controls are accessible, and use suitable protective procedures during servicing. A clear enclosure helps, but visibility can encourage careless observation. Never stare into the beam path, even briefly.
Choosing a wood laser engraver starts with airflow, not advertised wattage. Air assist clears smoke from the cutting zone and reduces flare-ups, scorching, and lens contamination. A stable pump, adjustable pressure, and a clean nozzle matter. Small details matter.
Exhaust design deserves equal attention. The U.S. Environmental Protection Agency reports that indoor pollutant levels can be two to five times higher than outdoors, and sometimes much higher. Wood smoke adds fine particles and irritating gases. Use sealed ducting, adequate fan capacity, and a safe outdoor discharge path. The U.S. Occupational Safety and Health Administration also favors local exhaust ventilation for controlling airborne contaminants. A weak fan may look cheaper, but it can raise cleaning, filter, and downtime costs.
Software affects ownership more than many buyers expect. Look for reliable file previews, material libraries, power-speed controls, and recovery after interrupted jobs. Compatibility with common vector formats reduces conversion errors. Total cost includes lenses, mirrors, filters, electricity, ventilation, maintenance, and wasted material. The U.S. Department of Energy notes that lifetime operating costs can outweigh purchase price for equipment with frequent use. In practice, a cheaper machine may become expensive through smoke residue and failed cuts. I would still test real plywood samples before trusting specifications; published performance rarely reflects every wood species, glue layer, or workshop temperature.