
10 Tips for Buying a Blown Film Machine

Buying a Blown Film Machine is a production decision, not just a price comparison. The right line must match your resin, target film thickness, output, and available floor space. A machine that looks impressive in a showroom may struggle with your actual product. Small details matter: die size, screw design, cooling capacity, haul-off stability, and the accessibility of service points.

Before comparing quotations, define what the line must make each day. Note your film width, gauge range, layer structure, and expected operating hours. Ask suppliers to explain their output figures and the conditions behind them. A speed claim without resin, thickness, and width details is hard to evaluate. Request a trial using a material close to yours. Watch the bubble, listen for vibration, and inspect the finished roll. Real production can be less tidy than a brochure.

Polymer-processing expert Dr. James L. Throne is a relevant technical reference, but no verified quotation from him about buying blown-film equipment is available here. To avoid misattribution, this guide uses an original buying principle instead: “Choose for the process you need to control, not the speed printed on a brochure.” Treat that as editorial guidance, not his words. The ten tips ahead will help you examine machine configuration, supplier support, operating costs, and future flexibility. Some choices will remain trade-offs. That is worth admitting before you sign.
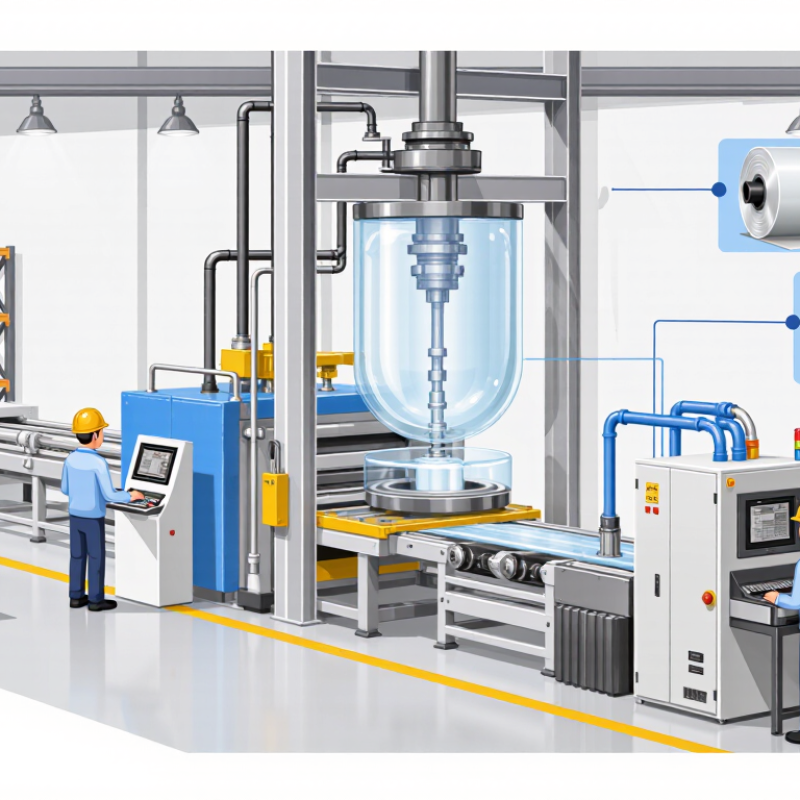
10 Tips for Buying a Blown Film Machine

Define Film Requirements: Packaging Gauges Commonly Range from 15–100 μm

A blown-film machine should be selected around the finished package, not a headline output rate. For many flexible-packaging applications, film gauges commonly range from 15–100 μm, but those endpoints serve different needs. A 15 μm film may suit light-duty packaging, while a 100 μm structure may be chosen for greater puncture resistance. These are starting points, not guarantees. Resin blend, film width, additives, and draw ratio all affect the final properties. Small differences matter.

PlasticsEurope’s Plastics – the Facts 2023 reports that packaging represented 39.8% of European plastics-converter demand in 2022. That scale makes material efficiency important, but thinner is not automatically better. A weak seal or pinhole can spoil the whole pack. Trial the intended resin, then measure samples across the web, including the edges and center. ASTM D6988 provides guidance for measuring plastic-film thickness; pair gauge readings with seal and puncture tests suited to the product. I would not treat a gauge chart as a recipe. Measure twice. Record average gauge and variation, then set machine controls around the acceptable range.

Select Die Size and BUR: A 2:1–3:1 Ratio Is a Common Starting Range

When selecting a blown film machine, treat die size and blow-up ratio as a connected choice. BUR is the bubble diameter divided by the die diameter. A 2:1–3:1 ratio is a common starting range for many film applications, but it is not a guarantee of stable production. Resin type, target film width, thickness, and cooling capacity all affect the workable range.

Tips: Confirm the required layflat width before choosing a die. Check that the machine can hold the intended gauge at your planned output. Ask for trial data using a similar resin and film structure, if available. Keep notes. Small changes in air flow or haul-off speed can alter bubble stability.

A larger die may support higher output, but it can also change cooling needs and operating conditions. Do not choose a die from BUR alone. Review die gap, screw capacity, and the expected production rate with the equipment supplier. It is easy to focus on a neat ratio and overlook the actual film width. That is a mistake worth avoiding. The first range may need adjustment after trials, and that is normal.

Compare Extruders: A 30:1 L/D Ratio Is a Common Blown-Film Benchmark

When comparing blown-film extruders, treat a 30:1 L/D ratio as a useful reference, not a pass-or-fail rule. The ratio compares screw length with screw diameter. It often supports consistent melting and mixing, but the number alone cannot predict film quality. Resin type, screw design, output rate, and operating speed all matter. Check the machine’s intended materials against your target production rate and film thickness. Small details count. Ask whether output stays stable when resin or gauge changes. A 30:1 ratio is common, not a guarantee.

Compare machines under similar conditions: use the same resin, die width, film thickness, and target output where possible. During a trial, record melt temperature, motor load, bubble stability, and thickness variation. Look closely at start-up scrap, too. A spreadsheet can miss what happens during a real shift. Maximum output figures are easy to compare; confirming them on your own formulations takes more effort. Request written operating ranges and check them against your cooling capacity and available operators. Test conditions may differ, so clarify how each figure was measured.

Compare Extruders: A 30:1 L/D Ratio Is a Common Blown-Film Benchmark

The length-to-diameter (L/D) ratio compares the screw’s working length with its diameter. A 30:1 ratio is a common blown-film benchmark, but the best choice depends on the resin, mixing needs, output goals, and machine design. The values shown are illustrative reference points, not a survey of available machines.

Check Cooling and Output: Compare kg/h Ratings at Your Target Film Gauge

A machine’s kg/h rating is useful only when it matches your intended film gauge, width, and resin. Ask suppliers for output data under those conditions, not just a maximum figure from a thicker film or a narrower die. Numbers need context. A line rated for high output may struggle to hold an even bubble when running thin film at full speed.

Cooling is part of the output calculation. Check the cooling ring design, airflow adjustment, and how steadily the bubble holds its shape. During a trial, watch the frost line and measure thickness across the web, including near both edges. A rising output rate means little if the film develops gauge variation or frequent bubble instability. That matters.

Compare machines using the same resin, target gauge, and layflat width. Request a sustained run, then verify actual output by weighing production over a timed period. Ask how the stated kg/h figure was measured and whether it reflects continuous operation. It can be tempting to compare headline ratings alone; I would not. Results can also shift with resin behavior and operating conditions, so record those details alongside the numbers. A simple trial log may reveal more than a polished specification sheet.

Verify Film Performance with ASTM D882, D1709, and D1922 Tests

Before purchasing a blown film machine, request trial rolls made with your intended resin, additives, and target thickness. A glossy sample proves little. Use ASTM D882 to measure tensile strength and elongation in both machine and transverse directions, since film orientation can affect results. Test samples from several roll positions, not just one convenient coupon. Record film gauge, conditioning time, specimen dimensions, and test speed so comparisons are meaningful.

Ask for ASTM D1709 dart-impact results and confirm which test method was used; methods A and B use different conditions. ASTM D1922 measures tear resistance, so request results in both film directions. Check whether performance stays consistent across the roll, especially near the edges. Small details matter. Keep the test reports with machine settings such as temperature, output, and line speed. These tests cannot predict every packaging or converting issue, and lab results may not match production exactly. That limitation is easy to overlook. Use the data to compare trial runs and identify questions before committing to equipment.

CAMaster Logo