
7 Tips for Choosing a Mini CNC Machine
Choosing a mini cnc machine can feel straightforward until you compare cutting areas, spindle power, and software requirements. A compact frame may fit neatly beside a workbench, but it still needs enough room for your intended projects. Think about what you will make: engraved signs, small wooden parts, or careful work with softer materials. Each task places different demands on the machine.
The right choice depends on more than price or advertised precision. Check the usable work area, frame rigidity, compatible tools, controller, and available support. Look for clear setup instructions and replacement parts you can actually source. That matters. A low-cost machine can become frustrating if basic adjustments are difficult or its software feels unfamiliar. Reviews help, but they may not reflect your materials, skill level, or workspace. Be realistic about what a small machine can do; advertised capabilities are not always effortless in practice.
These seven tips will help you compare options with practical questions in mind. Consider how the machine is assembled, how securely it holds material, and how noise or dust may affect your workspace. Also account for learning time. Not instant. A careful choice should match your projects today while leaving some room to grow. There is no perfect machine for everyone, and that is worth admitting before you buy.
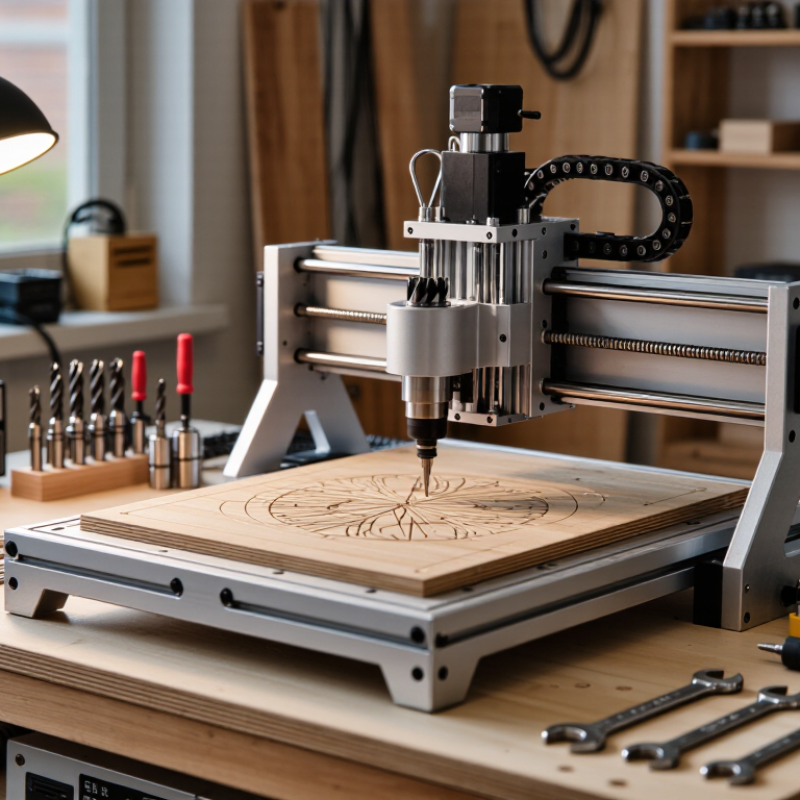
Define Your Projects and Material Requirements
Start with the part. List its largest dimensions, tightest tolerance, and expected weekly quantity. A 100 mm wooden sign needs different capacity from a batch of aluminum brackets. Measure the stock, too: a thick vise or spoilboard can reduce usable Z travel more than expected.
Name every material you plan to cut, not just “wood” or “metal.” Compare the exact alloy or plastic, its thickness, and how it behaves under heat. Aluminum needs a rigid frame, suitable tooling, and controlled chip removal; acrylic can melt if feeds and cutter geometry are poorly matched. Check the machine’s stated work area against your real setup, including clamps and tool clearance. A useful test is to ask a supplier or experienced operator about a sample cut in your material. A specification sheet alone cannot show chatter, edge finish, or setup difficulty.
Be realistic about future work. Deloitte and MAPI’s 2019 Smart Factory Study surveyed 600 manufacturing executives; 86% expected smart factories to drive competitiveness within five years. That finding concerns factory investment, not mini CNC performance, but it underlines why defined workflows matter. For a home workshop, project requirements should lead the decision. I would not over-specify here; unused capacity costs money. Still, leaving no room for a thicker future workpiece can become an expensive mistake. Keep a sample part and its dimensions beside the machine specifications while comparing options.
7 Tips for Choosing a Mini CNC Machine - Define Your Projects and Material Requirements
| Tip | What to Define | Useful Project or Material Details | How to Apply It When Choosing |
|---|---|---|---|
| 1. List your typical projects | What will you make most often? | Examples include engraved signs, small panels, circuit-board prototypes, model parts, and decorative pieces. | Choose a machine suited to your most common work rather than paying for capacity you rarely need. Note the largest and thickest parts you expect to produce. |
| 2. Match the work area to your parts | What are the maximum part dimensions? | Measure length, width, and thickness, and allow room for clamps, a fixture, and tool movement. A part may need more table space than its finished dimensions suggest. | Compare the usable travel on all axes with your measured needs. Check whether the stated work area includes space taken up by clamps or other fixtures. |
| 3. Identify your materials | What will you cut, engrave, or machine? | Common small-machine materials include wood, plastics, PCB stock, and softer metals such as aluminum. Material suitability depends on the machine’s rigidity, spindle, tooling, and setup. | Use the manufacturer’s stated material limits as a starting point, then verify them for your intended operation. Cutting a material is different from engraving or making a light surface pass. |
| 4. Consider the amount of material removal | Will you engrave, make shallow cuts, or remove substantial stock? | Engraving and light-duty cutting generally place different demands on a machine than deep cuts or repeated heavy passes. | For more demanding work, prioritize a rigid frame, secure workholding, and a spindle and feed system appropriate for the material. Plan on multiple passes where needed. |
| 5. Check the spindle and tool compatibility | Which cutters and operations are required? | Tool diameter, shank size, cutting-edge geometry, and spindle speed affect the operations a machine can perform. Small cutters are commonly used for fine details. | Confirm the machine accepts the tool sizes you need and provides suitable speed control. Follow tool and material guidance to reduce breakage and poor finishes. |
| 6. Plan for accuracy and repeatability | How precise and consistent must the parts be? | Fit-sensitive components and repeated batches require more consistent positioning than many decorative projects. Results also depend on setup, tool condition, and workholding. | Look for clear specifications for positioning or repeatability, and check how the machine is assembled and calibrated. Consider whether the workpiece can be held securely between jobs. |
| 7. Account for workspace and operating needs | Where and how will the machine be used? | Allow space for the machine, workpieces, tool changes, dust collection, and safe access. Cutting can produce chips, dust, or noise depending on the material and process. | Check the machine’s footprint, power requirements, enclosure or guarding, and compatibility with your computer and control software. Plan suitable ventilation and dust management for your materials. |
Selection reminder: Machine capability depends on the complete setup, including rigidity, tooling, workholding, feeds, and material. Verify specifications and safety requirements before purchase.
Related Posts
-
How to Choose the Best Mini CNC Machine?
-
Unlocking Precision: A Comprehensive Guide to the Best CNC Machine for Home Use with Technical Specs!
-
Top 10 CNC Machine for Home Use Choices for Buyers
-
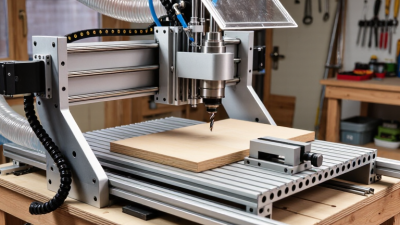
What Is the Best Home CNC Machine from China?
-
How to Choose the Best CNC Wood Carving Machine: A Comprehensive Tutorial for Buyers
-
Future Market Insights on Best Engraving Machine and How to Choose the Right One for Your Business
BUSINESSES USING CAMASTER